
The Art of Handmade Candle Crafting

There’s something truly magical about lighting a candle you made yourself. The soft glow, the gentle flicker, and the subtle scent all come together to create a cozy atmosphere. I still remember the first time I melted wax on my stove, nervously pouring it into a mold, hoping it would set just right. That moment sparked a passion for handmade candle crafting that has only grown since. If you’ve ever thought about trying your hand at this art, I’m here to share what I’ve learned along the way.
Why Handmade Candle Crafting Feels So Special
Handmade candle crafting is more than just mixing wax and wicks. It’s a creative journey that lets you express yourself and bring warmth into your home. When you make your own candles, you control every detail - from the scent to the color to the shape. This personal touch makes each candle unique, unlike anything you’d find in a store.
I love how this craft connects me to a slower pace of life. It’s a chance to unplug, focus on something tactile, and enjoy the simple pleasure of creating. Plus, handmade candles make thoughtful gifts. I’ve given candles to friends and family, and they always appreciate the care that went into making them.

Getting Started with Handmade Candle Crafting
If you’re ready to dive in, here’s a simple guide to get you started. You don’t need fancy equipment or a big budget. Just a few basic supplies and a little patience will do.
What You’ll Need:
Wax: Soy wax is popular for beginners because it’s easy to work with and burns cleanly.
Wicks: Choose the right size wick for your container to ensure an even burn.
Containers or molds: Glass jars, tins, or silicone molds work well.
Fragrance oils: Pick scents you love. Lavender, vanilla, and citrus are great starters.
Colorants: If you want colored candles, use candle dyes or natural colorants.
Double boiler or microwave-safe container: For melting the wax safely.
Thermometer: To monitor wax temperature.
Stirring utensil: A wooden stick or metal spoon.
Basic Steps:
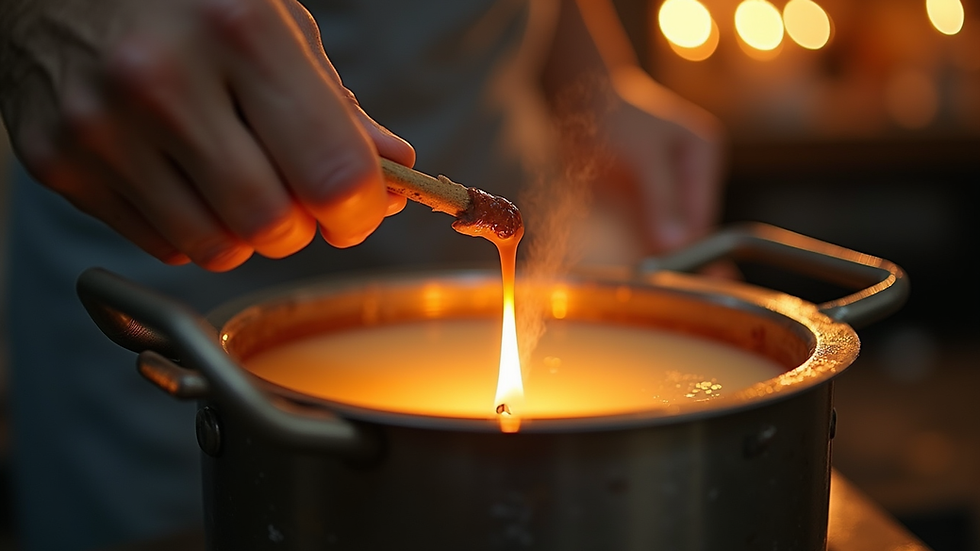
Melt the wax slowly using a double boiler or microwave.
Monitor the temperature carefully. Most soy wax melts around 120-180°F.
Add fragrance and color once the wax is melted but not too hot.
Secure the wick in your container.
Pour the wax gently into the container.
Let it cool completely before trimming the wick.
I remember my first batch didn’t turn out perfect. The wax cracked a bit, and the scent was faint. But with each try, I learned more about timing and temperature. Soon, I was making candles that looked and smelled just right.
Choosing Scents and Colors That Speak to You
One of the best parts of handmade candle crafting is customizing your candles to fit your mood or decor. I like to think of scent as a kind of storytelling. For example, a candle with cinnamon and clove can bring back cozy fall memories, while a fresh eucalyptus scent feels like a breath of clean air.
When picking colors, consider the vibe you want to create. Soft pastels work well for a calm, relaxing space. Bright colors can energize a room. I often match candle colors to the season or holiday - think warm reds and golds for winter, or fresh greens and yellows for spring.
If you’re gifting candles, try to match the recipient’s personality or favorite scents. It shows you put thought into their present, making it even more special.

Tips for Perfecting Your Candle Craft
As you get more comfortable, here are some tips that helped me improve my candle-making skills:
Use a wick centering device to keep the wick straight while the wax cools.
Experiment with fragrance load but don’t exceed recommended amounts or the candle may not burn well.
Pour wax at the right temperature to avoid cracks or sinkholes.
Allow candles to cure for a few days before burning to enhance scent throw.
Keep your workspace clean to avoid dust or debris in your candles.
Don’t be afraid to try new techniques or mix scents. I once blended lavender with a hint of vanilla and got rave reviews from friends. The key is patience and practice. Every candle you make teaches you something new.
Why Handmade Candles Make the Best Gifts
There’s a reason handmade candles are such popular gifts. They’re personal, thoughtful, and practical. When you give a candle you made yourself, you’re sharing a piece of your creativity and care.
I’ve found that people appreciate the uniqueness of handmade candles. They’re not mass-produced, so each one feels like a little treasure. Plus, you can customize them to suit the recipient’s tastes, making your gift stand out.
If you want to take your candle gifting to the next level, consider adding a handwritten note or wrapping your candle in pretty paper. It’s those small touches that make a big difference.
Growing Your Passion Into Something More
For me, handmade candle crafting started as a hobby but quickly became a passion I wanted to share. If you’re thinking about turning your candle-making into a business, here are a few things to keep in mind:
Focus on quality: Use the best materials you can find.
Create a brand story: People love to know the story behind their products.
Offer customization: Personalized candles are a big draw.
Build an online presence: Share your process and products on social media.
Connect with your customers: Listen to feedback and keep improving.
I’m excited about the future of my candle craft and hope to reach more people who appreciate unique, heartfelt products. If you want to learn more about the craft or find inspiration, check out Aydens Candles for ideas and tips.
Handmade candle crafting is a beautiful way to bring light and warmth into your life and the lives of others. Whether you’re making candles for yourself or as gifts, the joy of creating something by hand is truly rewarding. So grab your supplies, light that wick, and let your creativity shine!


Comments