
The Art of Crafting Handmade Candles
- Ayden Gonzalez
- Mar 9
- 4 min read

There’s something truly magical about lighting a candle you made yourself. The soft glow, the gentle flicker, and the subtle scent all come together to create a cozy atmosphere that feels deeply personal. I still remember the first time I melted wax on my stove, nervously stirring in fragrance oils and carefully placing the wick. It wasn’t perfect, but it was mine. Since then, crafting handmade candles has become more than a hobby - it’s a way to express creativity and bring warmth into any space.
If you’ve ever thought about trying your hand at candle making or even turning it into a small venture, I’m here to share what I’ve learned along the way. Let’s dive into the art of crafting handmade candles, step by step, with plenty of tips and stories to inspire you.
Why I Fell in Love with Crafting Handmade Candles
When I first started, I was drawn to candles because they’re simple yet so versatile. You can customize every part of the process - from the wax type to the scent, color, and container. It’s like painting with light and fragrance. Plus, handmade candles make wonderful gifts that show you care.
One of my favorite memories is gifting a batch of lavender-scented candles to my friends during the holidays. Watching their faces light up when they unwrapped something I made was priceless. It’s that personal touch that makes handmade candles special.
If you’re curious about the basics, here’s a quick rundown of what you’ll need:
Wax (soy, beeswax, or paraffin)
Wicks (cotton or wood)
Fragrance oils or essential oils
Containers or molds
Double boiler or melting pot
Thermometer
Stirring utensil
Starting with quality materials makes a huge difference. I always recommend soy wax for beginners because it’s easy to work with and burns cleanly.

The Step-by-Step Process of Crafting Handmade Candles
Let me walk you through the process I follow every time I make candles. It’s straightforward, but each step matters.
1. Preparing Your Workspace
Before you start, clear a space and cover it with newspaper or a silicone mat. Wax can be messy, and cleanup is easier when you’re prepared. Gather all your supplies so everything is within reach.
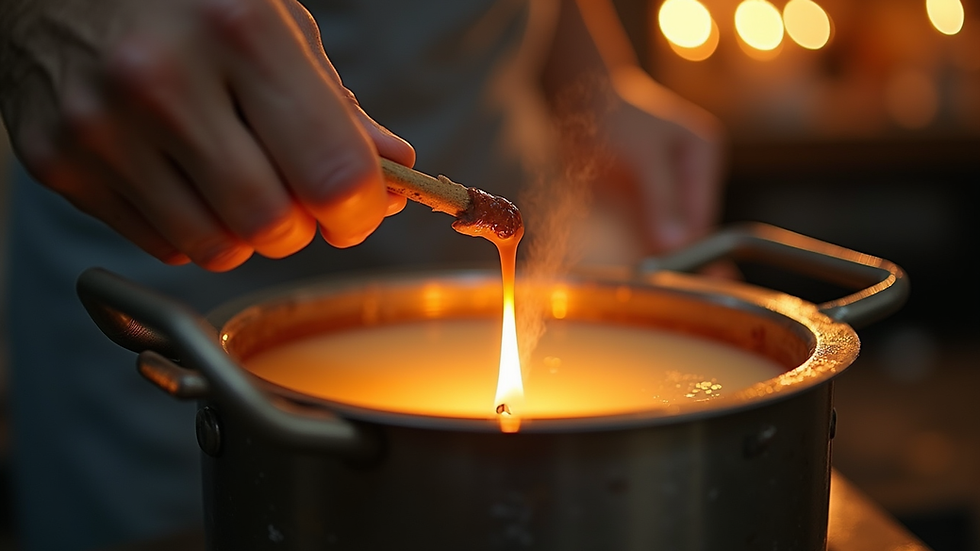
2. Melting the Wax
Use a double boiler or a dedicated melting pot to gently melt your wax. Keep the temperature steady - usually around 170-180°F (77-82°C) for soy wax. A thermometer is your best friend here.
3. Adding Fragrance and Color
Once the wax is melted, remove it from heat and let it cool slightly before adding fragrance oils. This helps preserve the scent. I usually add about 1 ounce of fragrance per pound of wax, but you can adjust based on how strong you want the scent.
If you want colored candles, add dye chips or liquid dye at this stage. Stir gently but thoroughly.
4. Setting the Wick
While the wax cools, attach your wick to the bottom of your container using a wick sticker or a dab of hot glue. Centering the wick is key for an even burn.
5. Pouring the Wax
Pour the wax slowly into your container, leaving a little space at the top. Hold the wick straight as you pour. Sometimes, the wax will sink a bit as it cools, so you might need to top it off with a second pour.
6. Letting It Cool
Allow your candle to cool completely at room temperature. Avoid moving it around to prevent cracks or uneven surfaces.
7. Trimming the Wick
Once cooled, trim the wick to about 1/4 inch. This helps the candle burn cleanly and safely.

Tips for Perfecting Your Candle Craft
Over time, I’ve picked up a few tricks that make candle making easier and more enjoyable. Here are some of my favorites:
Experiment with scents: Try blending different fragrance oils to create your own signature aroma. For example, vanilla and cinnamon make a cozy combo.
Use quality wicks: The right wick size depends on your container. Too small, and the candle won’t burn well; too big, and it might smoke.
Keep notes: Write down your recipes and results. This helps you replicate your favorites or tweak what didn’t work.
Be patient: Sometimes candles develop small cracks or sinkholes. Letting them cure for a few days before burning can improve the finish.
Safety first: Always work in a well-ventilated area and never leave melting wax unattended.
How Crafting Handmade Candles Can Turn Into a Business
If you’ve enjoyed making candles and want to share your creations with others, you might consider starting a handmade candles business. It’s a wonderful way to turn your passion into something more.
Here’s what I’ve learned about taking that leap:
Start small: Sell to friends, family, or at local markets to get feedback.
Brand your candles: Think about what makes your candles unique. Is it the scent blends, the containers, or the story behind them?
Create an online presence: A simple website or social media page can showcase your products and connect you with customers.
Focus on quality: Handmade candles stand out when they’re well-made and thoughtfully packaged.
Keep learning: Attend workshops, watch tutorials, and stay curious about new techniques.
Building a business takes time, but every candle you craft brings you closer to your goal.
Bringing Warmth and Light Into Your Home
At the end of the day, crafting handmade candles is about more than wax and wicks. It’s about creating moments of calm, joy, and connection. Whether you’re lighting a candle to unwind after a long day or gifting one to someone special, you’re sharing a piece of yourself.
I hope this guide inspires you to try candle making or deepen your craft. Remember, every candle you make is a little work of art - imperfect, personal, and full of warmth.
So, grab your supplies, pick your favorite scent, and start crafting your own glow. You might just find that the best part of candle making is the light it brings to your life.
Happy candle crafting!


Comments